Many brand owners test the oil carefully, then treat bottles and closures as guaranteed goods. Yet a defect found after filling costs far more: wasted oil, rejected units and delayed shipments. This guide explains how to set up a structured inspection of packaging components on arrival, and what to agree with your manufacturer before filling starts.
Why inspect packaging before the finished oil?
Once a bottle is filled, recovering oil from a faulty container means waste and rework. Finding the defect while the bottle is empty limits the loss to the bottle itself. Many customer complaints about oils also come from packaging rather than the oil: leaks at the cap, droppers that don't draw, pumps that don't reset, labels that peel. Make incoming inspection a fixed step of your order rather than a reaction to doubt.
What to check
| Component | Common defects | How to check |
|---|---|---|
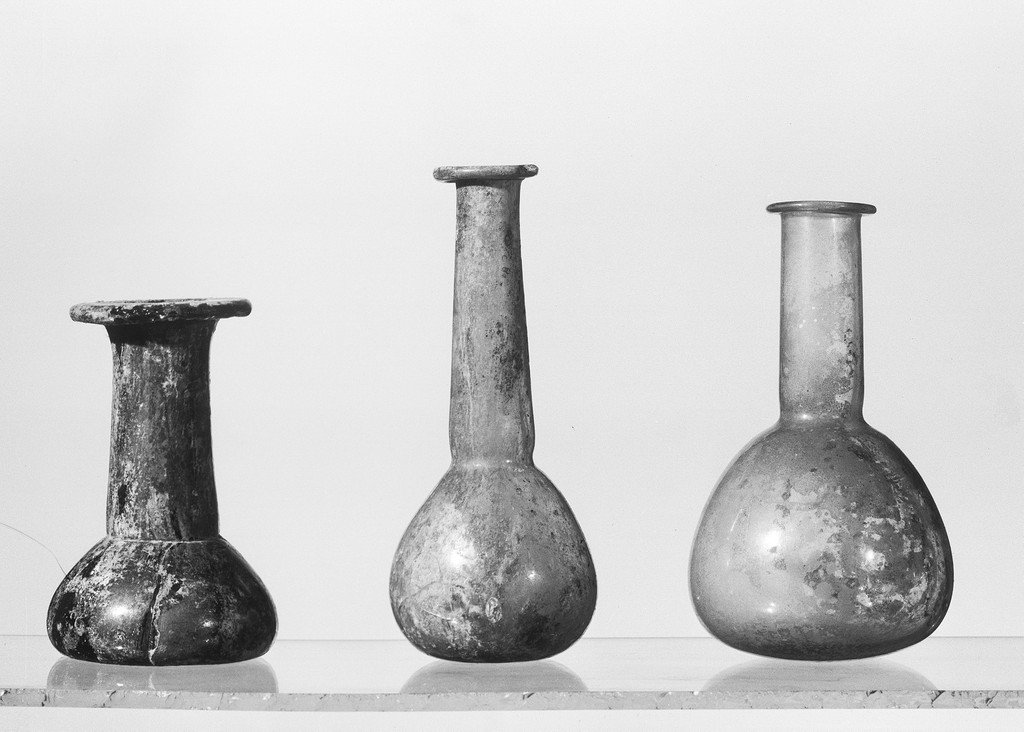
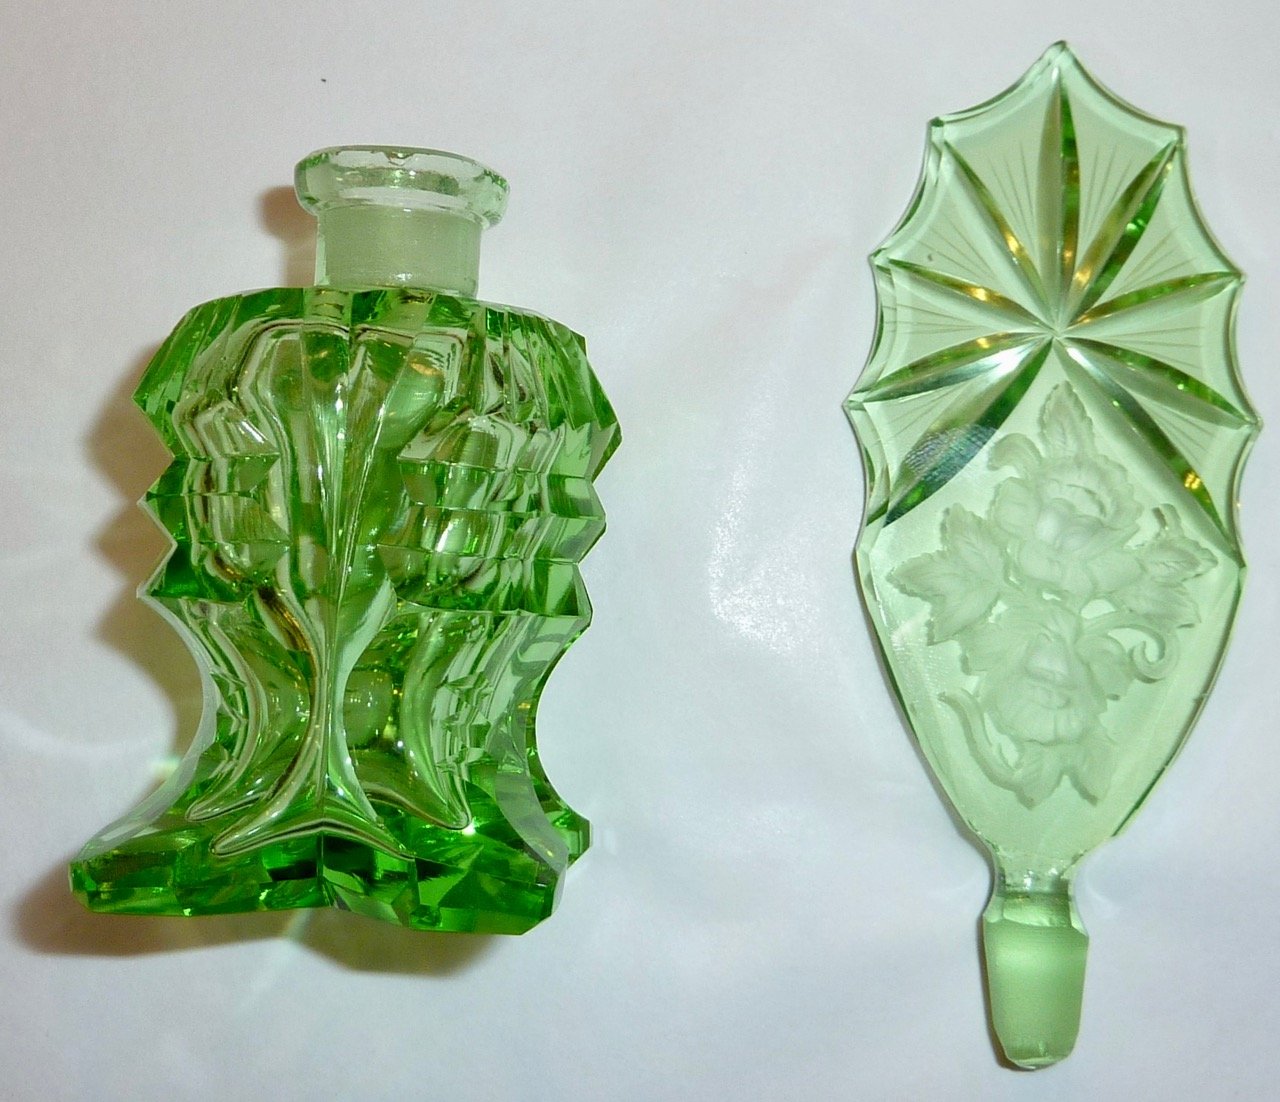
| Glass bottle | Cracks or chips at the rim, large bubbles, colour variation, uneven wall thickness | Visual check under good light on a sample from every carton |
| Neck and thread | Incomplete thread, sharp edges, tilted neck | Fit the actual cap or dropper and test the seal |
| Dropper or pump | No draw, leaks, soft bulb, tube too short or long | Actuate repeatedly with a similar-viscosity liquid; compare tube length to bottle height |
| Cap and tamper ring | Warping, cracks, broken tamper band | Visual check and open/close trials |
| Inner liner | Missing or unsuitable for oil | Review supplier specs and run compatibility testing |
| Cartons and dividers | Moisture damage or dust | Check on opening |
See also our article on packaging compatibility with argan oil, since visual inspection cannot reveal everything.
Inspection steps
1. Match quantities and specifications first
Compare carton count and quantities with the purchase order, then confirm item code, capacity, colour and neck type. A dropper with the wrong neck size can arrive in the same shipment.
2. Sample randomly across several cartons
Don't check only the top carton. Pull samples from top, middle and bottom, and from more than one pallet. Sample size is set by agreement with the manufacturer or a recognised sampling plan, not a magic fixed number, and grows with order size and product sensitivity.
3. Trial assembly
Fit the dropper or pump on the bottle and close the cap at the torque planned for the line. Some defects only appear when components meet, not when each is checked alone.
4. Seal test
Fill a few units with oil or a suitable substitute, close them, and place them tilted or inverted on absorbent paper for an agreed period, then look for leak marks. This simple test doesn't replace laboratory testing but catches glaring errors before full filling.
5. Classify and document
Record each finding with a photo, the supplier's lot number, date and inspector's name. This record is your evidence when claiming replacement or compensation.
Classify defects before you negotiate
- Critical defect: causes leakage, breakage or user risk, such as a cracked rim or a cap that won't seal. The piece is rejected, and the lot if it recurs.
- Major defect: clearly affects function or appearance, such as a weak dropper or uneven colour.
- Minor defect: a slight cosmetic difference most consumers won't notice.
Agree acceptance levels for each category with the manufacturer in advance so the discussion doesn't become a matter of taste on arrival.
What to do when you find a defect
- Stop using the suspect lot for filling until a decision is made.
- Send photos and your record to the supplier or manufacturer in writing.
- Request replacement, sorting at their cost, or an agreed credit.
- Keep samples of the defect.
- Adjust the production schedule and inform your customers if delivery is affected.
Agree with the manufacturer before filling
Before production, clarify who supplies and who inspects components, whether you will receive photos or samples of incoming packaging, and request a reasonable spare quantity of bottles to cover line losses. Early dispensing choices also prevent surprises later: see choosing a dropper, pump or spray. For the collaboration stages, the how we work page explains the process.
FAQ
Do I need to inspect if the supplier is trusted?
Yes. Trust doesn't rule out a defect in one specific lot. A quick random check costs little compared with losing a filled batch.
How many bottles should I inspect per shipment?
There is no single number. It depends on quantity, product sensitivity and your agreement with the manufacturer; a standard sampling plan is often used.
Is visual inspection enough?
No. Add trial assembly and a simple seal test, because many leaks can't be seen by eye.
Who bears the cost of defective packaging?
It depends on what the purchase order and quality agreement say, so define responsibility and acceptance limits before production.
In short
Inspecting empty packaging is cheap and protects your brand from costly defects after filling. To prepare your next order and coordinate components with production, request a quote from Assil Ouargane.